Galactic Racer Contact Racing: Plan a Shunt Without Losing the Exit
Set up contact in Galactic Racer by reading the next corner, keeping an escape line and distinguishing a deliberate shunt from an uncontrolled collision.
By Star Wars Galactic Racer Guide editorial team Last updated
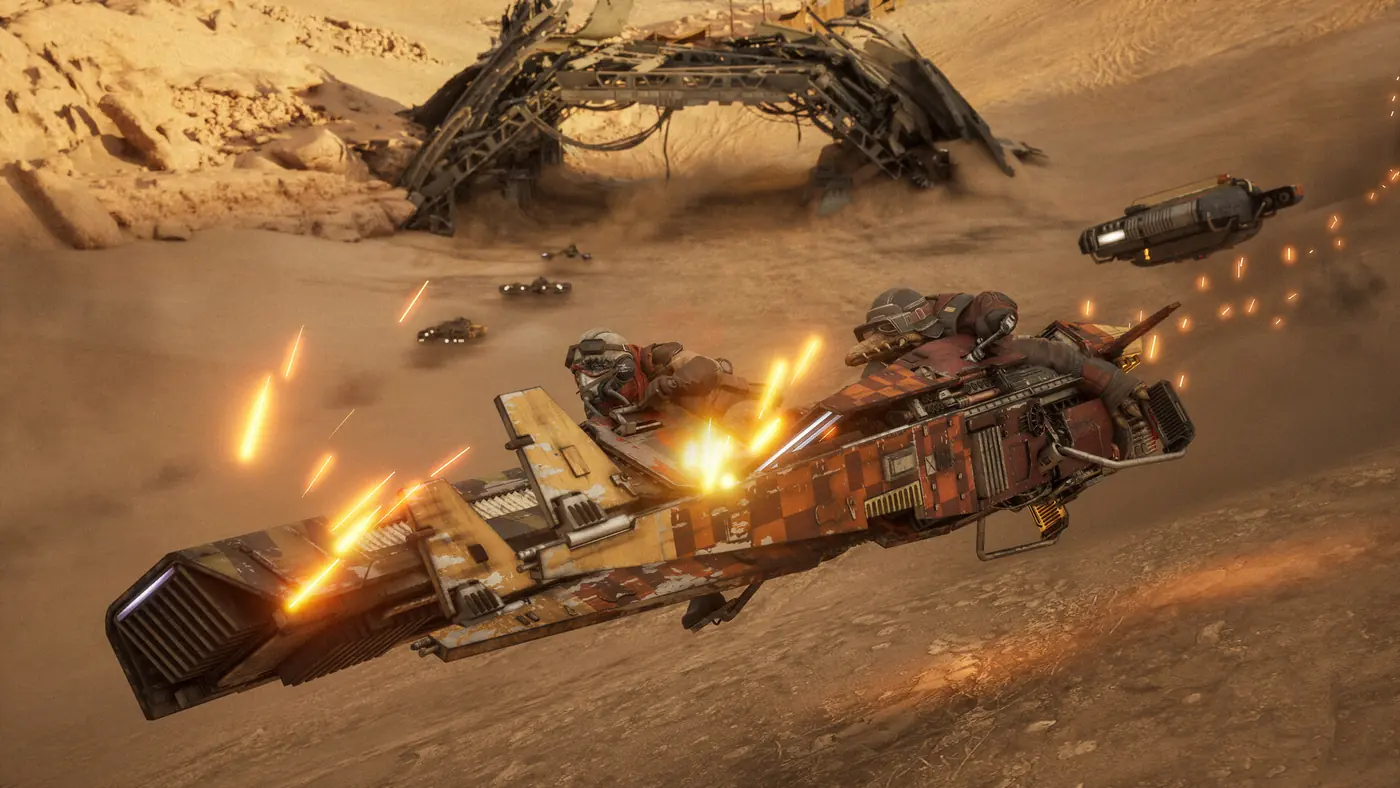
Plan a shunt around the road after contact, not only the rival beside you. Identify the next bend, leave an escape line and abandon the move when you cannot predict your own exit. Slam, shunt and takedown are part of the game’s official combat-racing description, but that does not make every collision a good decision or establish a guaranteed damage combo.
Name the purpose of the move
Before attacking, decide what you want: room to pass, a better position before a bend or progress toward the event’s displayed objective. If you cannot name the benefit, you may be adding risk without improving the race. A dramatic impact can still leave you slower, damaged or unable to make the next turn.
Do not assume that contact always earns a particular reward. Read the current event or contract requirements. A challenge asking for a specific action may have conditions that an ordinary collision does not satisfy. Check the result rather than declaring the objective bugged because a visually similar hit failed to count.
For campaign stakes, the rivalry guide explains the decision before the race. For the contact itself, keep your attention on space, relative position and the next road section. Those are different parts of the same plan.
Read the next corner first
Look beyond the rival. If the route narrows immediately after the possible hit, there may be no room for the displacement you create. A move that appears safe on a straight can become a crash when both vehicles reach the bend together.
Choose a section you already understand. Know where you intend to turn, where you can release speed and where you can go if contact changes the vehicle’s direction. If you cannot see the exit, preserve margin and wait. This is a decision rule, not a promise that one section always produces a takedown.
Practice the route without attacking first. If you hit the same boundary while alone, contact will make the diagnosis harder. Use the track-practice reference to establish a reliable approach, then add a single contact attempt to a section you already control.
Approach with an alternative
Watch the rival’s movement before committing. A vehicle approaching an obstacle or another racer may change line suddenly. Leave enough room to avoid copying that mistake. Following so closely that your only option is contact is a loss of choice, even if you intended to attack eventually.
If you are in a draft, decide when to leave it before the braking reference disappears. Use the drafting guide for that visibility problem. A late move from directly behind can combine poor vision with an uncertain angle and leave you unable to judge whether you have space alongside.
Avoid treating a single encounter as proof of an opponent’s permanent behavior. Observe more than one section before concluding that a rival always defends the same side. In online racing, another player’s choice can change simply because the traffic changed.
Make one commitment, then recover control
Once you commit to contact, prioritize understanding where your own craft ends up. Do not immediately add another steering correction, boost input and attack in the hope that one will salvage an unclear situation. Too many inputs make it difficult to learn which decision caused the loss of control.
If the move succeeds but leaves the next turn compromised, count that as a mixed result. On the next attempt, change the setup earlier rather than making the recovery more aggressive. If the rival moves out of reach, return to the racing line when it is safe instead of chasing sideways across the route.
The game’s different classes offer distinct handling and survivability descriptions. Read the class comparison before assuming that an approach learned in a landspeeder will be equally forgiving on a bike. This guide does not assign numerical damage or guarantee immunity to any class.
Match the contact plan to the class
+| Craft | Confirmed class distinction | Practical contact priority | +| --- | --- | --- | +| Landspeeder | Resilient, drifting platform | Keep the exit usable instead of assuming durability makes every impact worthwhile | +| Speeder bike | Agile and fragile, with braking-linked Kinetic Burst | Avoid turning a planned corner exit into an uncertain side collision | +| Skim speeder | Balanced class with Knife Edge | Preserve the line needed for the next maneuver rather than forcing a blocked path | +| Podracer | Larger and faster, racing separately | Relearn clearance and the available passing space | + +The priorities are recommendations from the class differences, not tested damage rankings. Read the effect of any equipped ability before combining it with contact. + +## Defend the exit rather than retaliating immediately
After being hit, first identify the route and available space. Recover a usable line before deciding whether to attack back. An immediate retaliation can place you beside the same rival at the worst possible point, especially when the next section is narrow.
If a player repeatedly targets you, separate their behavior from your goal for the race. Finishing may require disengaging rather than winning every contact. Use the game’s available reporting or blocking tools for conduct that warrants it; this guide does not invent a penalty system or promise that retaliation is rewarded.
For a longer online run, read surviving rammers and make preparation decisions before entering. During the race, focus on the opening you can actually use. A defensive plan is valuable only if it leaves you able to drive the next section.
Camera interruption and performance are separate checks
If a camera transition disrupts your next input, record the action and location. Look for relevant camera or comfort options in the current build rather than assuming a setting exists under a particular name. Test one change in the same event if the option is available.
If the image visibly freezes or the game crashes, switch to the PC troubleshooting order. A presentation effect, a frame-time hitch and a bad driving decision can feel similar during a hectic race, but they need different evidence. Do not change the vehicle’s parts to solve an unconfirmed graphics issue.
Review an attempt without inventing a formula
After the race, ask three questions: did you have a clear purpose, did you know the next exit, and did the move leave you in a better position to complete the objective? Record the earliest decision that failed. That gives the next attempt a specific change.
There is no tested win-rate table or universal shunt threshold behind this page. The useful improvement is a contact decision you can explain and repeat under similar conditions. When waiting gives you a clearer opening, waiting is part of the technique.