A safer first campaign tour, race by race
Plan a first Star Wars Galactic Racer campaign tour with a clean lap, a suitable speeder, sensible upgrades, and a Backer contract you can finish.
By Star Wars Galactic Racer Guide editorial team Last updated
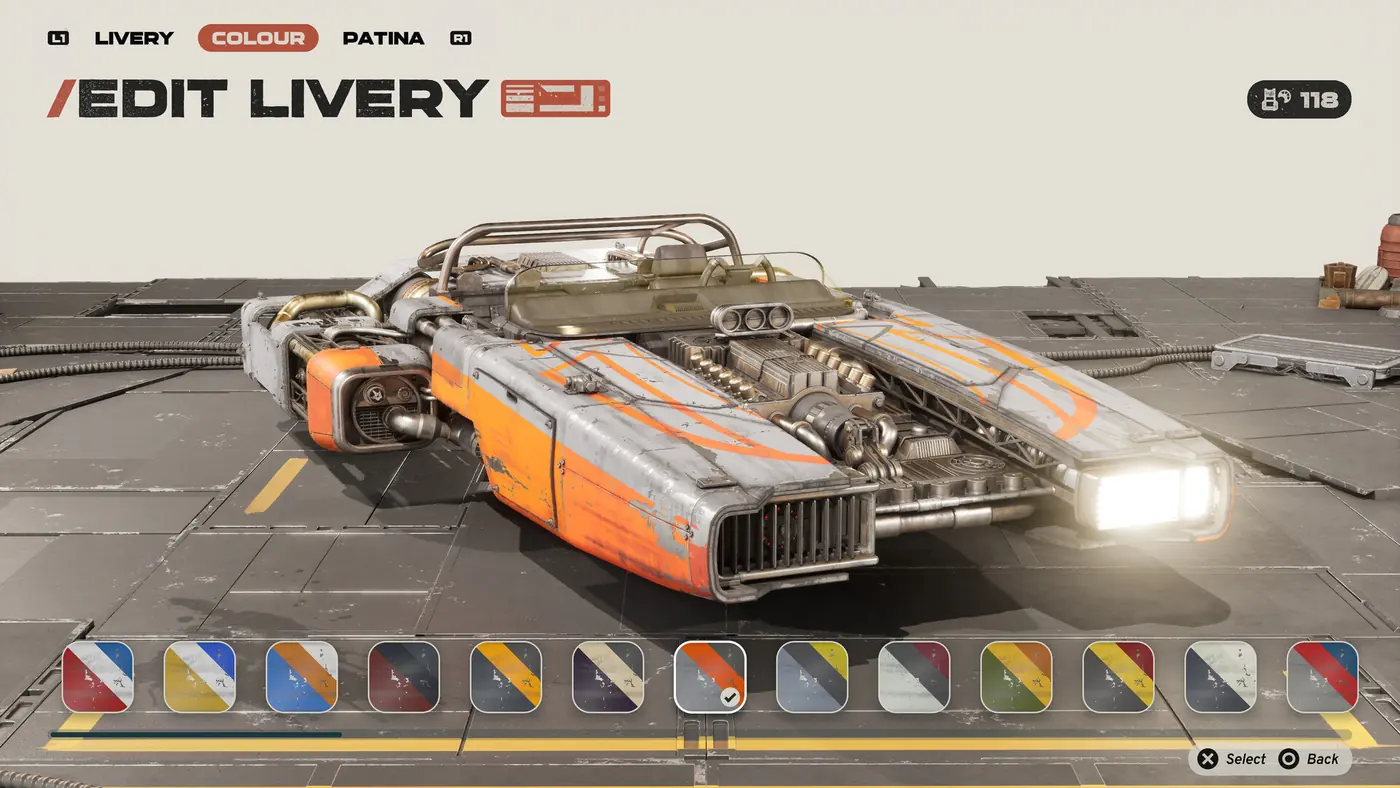
Star Wars: Galactic Racer is easiest to approach as a sequence of decisions, not one long qualifying sprint. The campaign combines races, a garage where you spend credits, and a League Tour with a token and Backer contracts. A good first run keeps those jobs separate: learn the track, fit the speeder for the hazard, then take on the contract. This guide gives a repeatable plan without relying on made-up lap times or hidden reward multipliers.
The game launched on October 6, 2026, for PC, PlayStation 5, and Xbox Series X|S. It has landspeeders, speeder bikes, skim speeders, and a separate podracer grid. That distinction matters: campaign speeder advice does not automatically transfer to a pod event. Follow the current game text when an event or patch changes the setup.
Before the first race: identify the job
Read the event screen before choosing a vehicle. Note the planet, vehicle type, objective, and whether this is a campaign race, qualifying event, Arcade run, or part of a League Tour. Those labels describe different commitments. Arcade is useful for repeating a course; a tour asks you to preserve progress across its sequence. A podracer event has its own grid rather than simply being a faster speeder race.
Make a simple pre-race note: “vehicle / hazard / contract.” For example, if the event is a speeder race on ice, check visibility, the displayed vehicle status and a safe exit. If it is a pod queue, learn the pod route separately. If a Backer asks for a jump, identify the jump before you sign up. This is more useful than taking a generic “fastest vehicle” ranking into every event, because the classes have different trade-offs and the track changes the cost of a mistake.
First pass: finish a clean lap
Use the first pass to learn where the course asks you to brake, drift, jump, or move away from a hazard. Do not spend the lap trying to shunt a rival and win a side objective at the same time. A clean lap gives you a reference: where the next turn begins, how much room remains after a jump, and whether the boost section is genuinely clear.
Pick a familiar, durable speeder when you are still mapping the course. Landspeeders are described as the durable class and are forgiving when a collision or poor line costs momentum. Keep the camera and road visible; drafting is helpful on a straight but can obscure hazards, when effects or another craft obscure the route. Leave the wake before the braking marker so you can choose your own line into the corner.
At the end of the lap, remember one correction rather than five: “brake earlier at the ice gate” or “leave the draft before the ridge.” Apply that one change on the next attempt. If the game hitches, record the point and check the existing performance guide before changing vehicles; a technical stutter and a handling mistake need different fixes.
Match the class to the course
The four vehicle groups are not four levels in a single speed ladder. Landspeeders favor durability; speeder bikes trade resilience for speed and use Kinetic Burst; skim speeders are presented as the flowing-line option with Knife Edge; podracers run on their own grid. Choose according to the event and the hazard you can see.
| What you need | Starting choice | What to watch |
|---|---|---|
| A forgiving first campaign pass | Landspeeder | Keep a wide exit and learn the braking marker |
| A fast, practiced speeder line | Speeder bike | Use Kinetic Burst only when the exit is clear |
| A flowing route across changing ground | Skim speeder | Learn where Knife Edge fits the course |
| A dedicated pod event | Podracer | Treat its queue and handling as a separate lesson |
These are starting choices, not a universal class ranking. The game does not publish one gold time that applies to every vehicle, planet, and layout. Compare your own event screen after a clean run. The detailed vehicle class guide and track index help narrow the choice without pretending the same craft wins every event.
Spend credits to protect the next attempt
Credits come from completing events and are spent in Hibi’s workshop. For a new campaign, prioritize upgrades that help you complete the next race before cosmetic choices. If impacts repeatedly stop you finishing, consider survivability before adding speed; if the line is already clean, compare the upgrades relevant to your next objective. Check the current shop description and your available balance before confirming; this is an order of priorities, not a claim about exact prices or a hidden payout formula.
Afterburner and ramjet solve different problems. Afterburner is the safer short burst for a corner exit or a pass you can already see. Ramjet is much stronger but can overheat and destroy the speeder if held too long. Use it only on a straight you know, release before the heat gauge reaches its limit, and avoid making your first ramjet test inside a cave or a hazard section. If your controller layout makes it difficult to accelerate and release the ramjet cleanly, leave it unused until the route is familiar.
Do not spend credits chasing a cosmetic while the next event repeatedly ends in a crash. Once you finish the course consistently, customize the racer you want to see. The garage should support campaign progress, while Arcade practice should teach the parts you have not learned yet.
Qualify before you commit a token
Qualification and the League Tour are related, but they are not the same task. Finish the qualifying objective first. When the tour offers a Backer, read the contract and confirm that you can perform its condition on a course you understand. Backers provide a League Token for tour entry and can ask for contracts; a named character or flashy reward is not evidence that their offer is easier or pays more.
If the contract involves a jump, rehearse that jump before signing. If you are asked to demonstrate a maneuver, use a familiar track and avoid adding a rivalry stake on the same attempt. Complete one condition at a time. The game has named Backers including Vranki, Sidon Ithano, and Q-33N, but that does not turn them into a published tier list. Choose from the actual contract text in your build.
Once the tour begins, spend the token intentionally. A rivalry may put a token on the line, so take a moment to decide whether the race is worth that risk. Watch a rival’s line before escalating. You can learn their braking and defensive habits in an ordinary event; a single collision does not tell you enough to bet the tour on a guess.
Improve one decision after each race
After each result, review the event objective and the moment that ended the run. If you missed the line, adjust braking. If a jump contract failed, practice its approach. If ramjet overheated, release earlier or use the afterburner. If a shunt pointed you toward a barrier, reset the line before attempting another. Do not change the pod, the controller mapping, the upgrade loadout, and the rival strategy at once, because then you cannot tell which change helped.
Keep a compact log for a few attempts: planet, class, upgrade change, hazard, and result. There is no need to record invented frame windows or a “best build” score. A short note makes it easier to spot that the same class handles a course well after you move the braking point, or that a technical hitch repeats at one transition.
FAQ: first campaign tour
Is a podracer the best campaign vehicle?
It is a separate vehicle class and grid. Use the vehicle type named by the event. A pod’s top speed does not make it the answer for a speeder campaign race.
Should I take every Backer contract?
Read the condition first. Take a contract when you understand the requested maneuver and can practice it; do not assume every named Backer offers the same difficulty or reward.
What should I do after a failed race?
Identify the failure: course knowledge, hazard, boost control, or a game hitch. Change one thing on the next attempt and use Arcade for isolated practice when that makes sense.
Are the route times in this guide fixed?
No. Use the time and objective shown in your current event. The guide is a decision process, not a replacement for the game’s changing event screen.