Galactic Racer Boost Practice: Read the Warning and Protect the Exit
Practice boost decisions in Galactic Racer with visible cues, clear release points and controlled comparisons instead of unsupported heat formulas or.
By Star Wars Galactic Racer Guide editorial team Last updated
Add boost to a route you can already drive, and choose the release point before committing. Read the controls, meter and warnings shown by your current craft. Do not rely on a universal safe duration copied from another build. Boost is useful only if you can still complete the next section and the event’s actual objective.
Know which control you are testing
The game’s craft-building systems combine different parts, abilities and playstyles. Before practicing a boost behavior, inspect the selected equipment and the input layout. Identify what the game calls the function, how to activate it, what feedback it displays and whether the description includes a resource or risk.
Do not treat afterburner, ramjet and a class-specific capability as interchangeable labels. For example, the official bike description explains Kinetic Burst in terms of braking energy and acceleration out of a corner. That is different information from a workshop part’s description. Read both when they apply to the craft you selected.
This page does not publish a measured heat-generation rate, cooldown or exact moment at which every configuration fails. Those figures require controlled evidence for the specific setup. Use the visible warnings and the actual description rather than assuming an old guide’s number applies to you.
Afterburner and Ramjet solve different problems
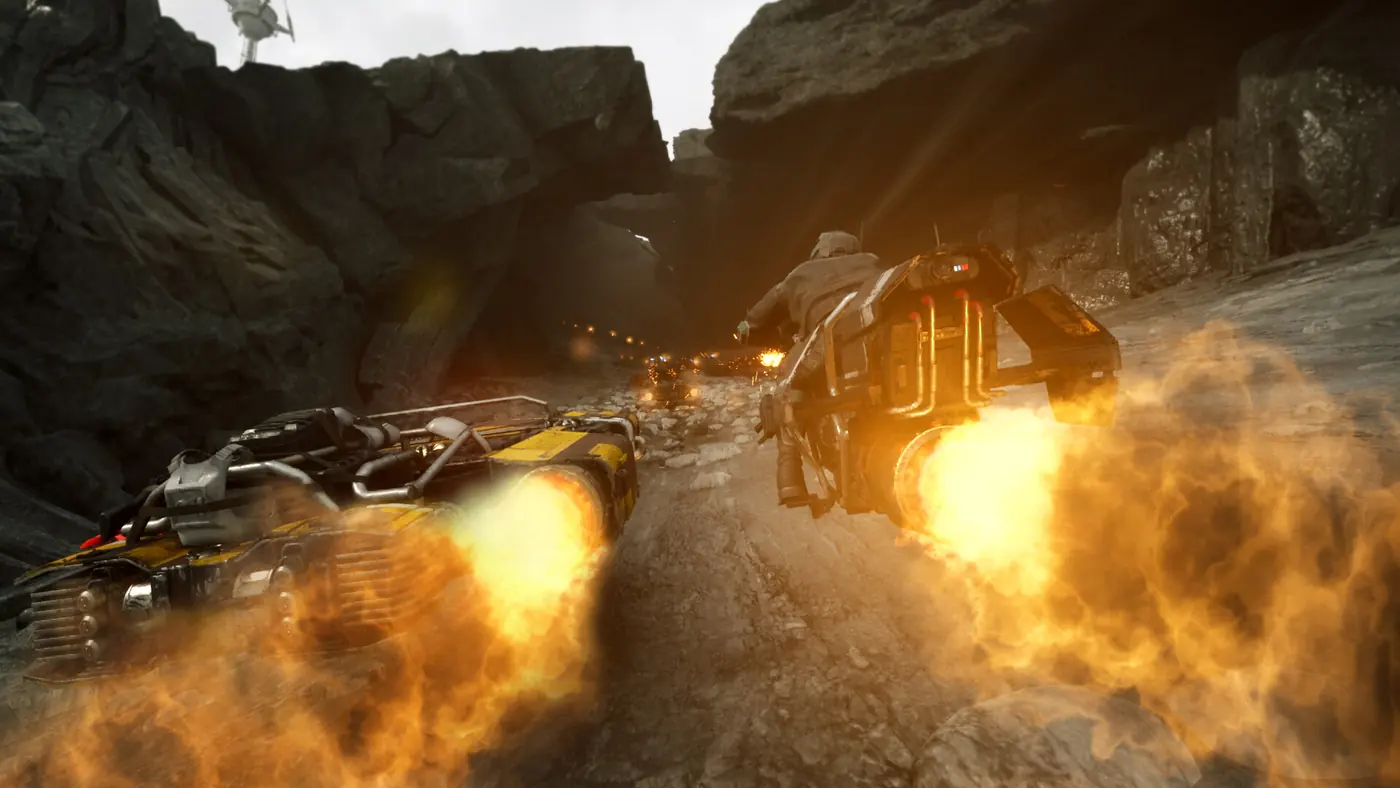
The June hands-on description distinguishes a short, recharging Afterburner from the higher-risk Ramjet, which can overheat. Treat the former as a brief acceleration tool and the latter as a commitment requiring a deliberate release. The useful choice depends on the road you can read and the margin you need afterward; it is not a universal instruction to hold the more powerful option whenever it is available.
| Situation | Preparation |
|---|---|
| Familiar corner exit | Establish the exit line before adding a short boost |
| Clear, known section | Choose the Ramjet release point before committing |
| Obscured or crowded approach | Preserve visibility and recovery room first |
| New vehicle class | Relearn the approach before copying the previous timing |
Build a clean reference before adding commitment
Choose a familiar event and drive the opening section without forcing maximum speed. Find a stable approach to the next turn. Note where the vehicle needs to be and when you normally begin reducing commitment. That is the reference against which to judge the boost change.
If the baseline contains repeated collisions, solve the first one before adding another variable. The track-practice guide explains a simple record of event, layout and earliest error. A boost test cannot tell you much when the route is different or the driving is inconsistent on every attempt.
Keep the vehicle and equipped changes fixed. A better finish after replacing several parts does not reveal whether boost timing improved. The goal is a decision you can repeat, not a lucky result that feels dramatic.
Select one section with a clear exit
Start where you can see enough road to judge both the commitment and its end. A clear straight is easier to evaluate than a crowded entrance to an unfamiliar bend. Identify the point at which you will release or change input, using the controls available to your setup.
Watch the warning information without staring at it so long that you stop reading the route. If monitoring the resource consumes all your attention, shorten the commitment and practice the routine at a more manageable pace. A system is not mastered because you can read its meter while parked.
If the exit becomes blocked, give up the planned boost window. A plan is useful only while its conditions remain true. Forcing the original commitment into new traffic can turn a promising section into a collision before the next corner.
Review heat and control separately
After the attempt, identify what failed first. Did the visible warning appear before you reacted? Did you release as planned but arrive at the turn too fast? Did another racer remove the line? Those are three different problems, even if each ends with a damaged craft.
A warning-management problem calls for an earlier or shorter commitment. A corner-entry problem calls for a release point that fits the following section. A traffic problem calls for a different opportunity or more space. Do not change the whole vehicle merely because the final crash looked similar.
Environmental appearance is not a measured thermal model. A hot-looking cave or cold-looking landscape does not by itself prove a fixed boost threshold. Use what the game actually displays and avoid inventing a planet-specific safe duration. If you record your own observations, label the event and setup so you can test them again.
Fit the technique to the class
Landspeeders, bikes and skim speeders have different official handling descriptions. A release point learned in one class may leave another craft with a different approach to the next bend. Read the class guide before assuming that a comfortable landspeeder routine transfers unchanged to a bike.
Podracers are a distinct case because their size and speed separate their races from the speeders. Use a new reference when switching to pods and establish clearance before adding more commitment. The podracer guide and Act 3 transition plan cover that adjustment.
The practical measure is not which craft looks fastest in one clip. It is whether you can use the system and still place the vehicle where the route requires. A brief gain followed by a wall is a poor trade when the event asks you to finish cleanly.
Campaign resources and online traffic
In a campaign, consider the next objective and the condition of the craft before fitting another change. Read its actual effect and cost. The first Tour guide covers how to organize that preparation, while faulty-parts recovery helps separate a malfunction report from a driving error.
Online, a clear section can close quickly. Plan around the space you have now, not the road you expect to be empty when the boost ends. Avoid combining an unfamiliar boost routine with an aggressive pass until each is repeatable on its own.
If the behavior changes after an update, inspect the equipped setup first. The October 22 update warned about campaign customization resets. A changed part or option is worth excluding before you assume the underlying system has been rebalanced.
End with a repeatable release decision
Keep a short note: event, craft, selected system, commitment landmark, release landmark and the earliest failure. On the next attempt, change only the item that addresses that failure. When the section is clean several times under comparable conditions, extend the routine to another section.
Stop a test when you can no longer tell what changed. Return to the last understandable setup and rebuild from there. A controllable boost decision is more useful than a claimed perfect duration that nobody can reproduce on your craft.