Use Arcade to learn one event at a time
Use Star Wars Galactic Racer Arcade to practice a planet, vehicle, hazard, and gold target without mixing the run with campaign or League Tour pressure.
By Star Wars Galactic Racer Guide editorial team Last updated
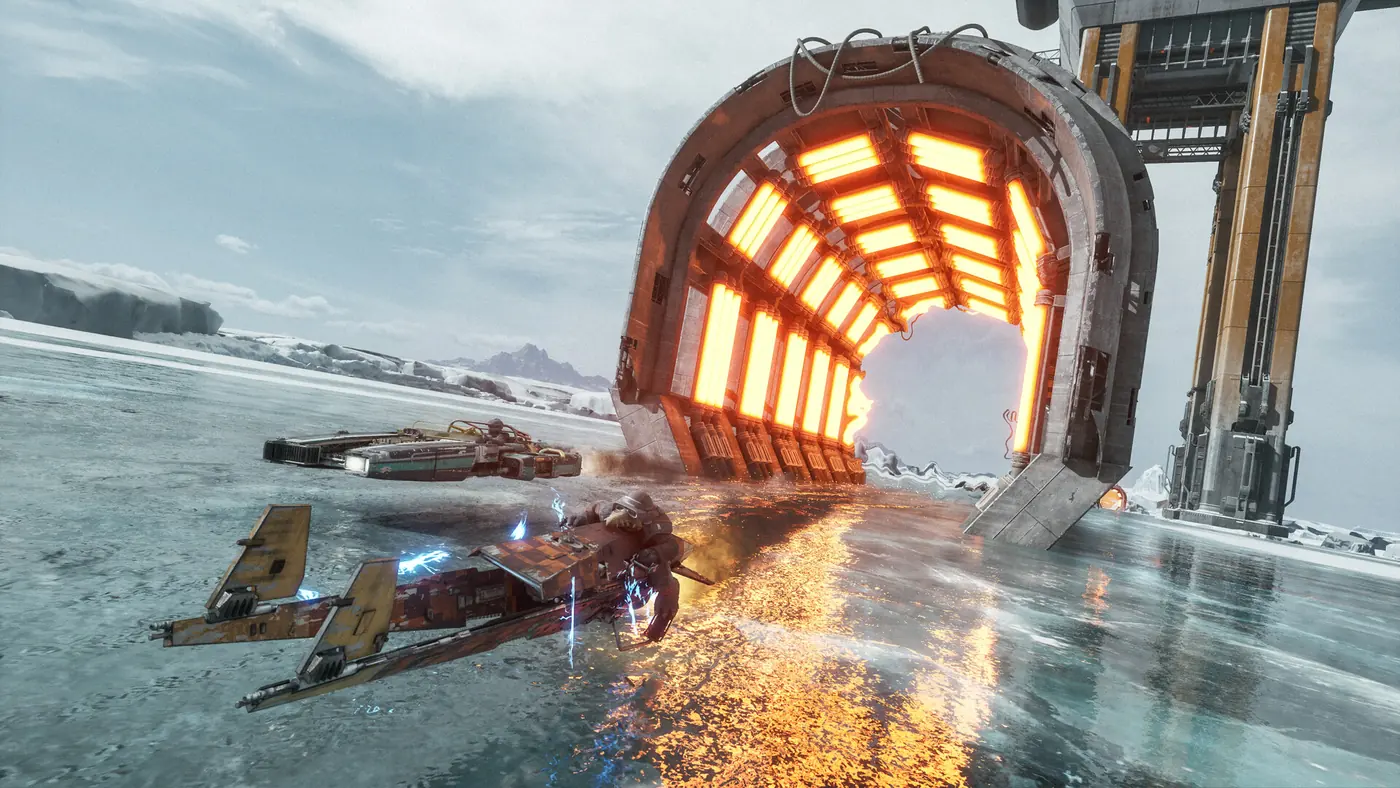
When a Star Wars: Galactic Racer event goes wrong, the fastest way to learn may be to stop risking campaign progress and isolate the course in Arcade. Arcade is useful because you can repeat a track and focus on one visible problem: an ice gate, a canyon wall, a jump, a draft, or the point where a boost becomes unsafe. It is not a shortcut to a secret payout, and this guide does not list gold times that are not displayed by your own game.
The goal of practice is to produce a line you can repeat. Pick one event, one vehicle, and one correction. A lap that is slightly slower but safely reaches the finish gives you more useful information than a fast attempt that ends before the hazard. Once you can complete the route, add the event target or a shunt. This order keeps practice legible and makes it easier to recognize whether a new part or driving adjustment actually helped.
Start with the Arcade event screen
Before you launch, read the mode and vehicle shown by the event. Separate a speeder course from a podracer event: the pod grid has its own handling and queue, so a clean speeder lap does not teach you every pod corner. Also note whether the target belongs to the exact vehicle and layout you selected. A gold time on one course should not be copied to a reverse layout or another class unless the game itself displays the same target.
Take a screenshot or write down the target from the event screen if you want to compare attempts. Label it with the planet, layout, and vehicle. If your notes only say “Ando Prime gold,” you may combine two events that ask for different lines. Treat the in-game event as the record; do not rely on a time copied from a different patch or a video without matching its event settings.
Run one without chasing contact
On the first attempt, let the event show you the road. Do not spend that run chasing takedowns, drafting for the entire straight, or holding ramjet into a corner you have not seen. Identify the braking marker, the entry angle, and the hazard edge. If there is a jump, note where the vehicle lands and what the next turn demands. This first pass is reconnaissance, even if the game does not give it a special label.
On the second attempt, repeat the same vehicle and change only one driving choice. Brake earlier at the ice gate, leave a wake before it hides your approach, or delay boost until the landing is stable. A specific change gives you a useful comparison. Swapping vehicles and adding a ramjet upgrade simultaneously may create a faster result, but it will not tell you which choice made the difference.
Learn the hazard before you learn the shortcut
Read the environment visible in your selected event. Wreckage, a narrow canyon entrance, an obscured approach or a bright transition can change the line you can read. Do not infer a precise damage or heat rule from the scenery. Derven Acos is described in the official story introduction as combining the planetary conditions encountered during the Tour, so it is worth learning the underlying adjustments rather than memorizing a single visual theme.
Use a simple hazard drill:
- Approach at a pace that leaves room to correct.
- Identify the visible marker or terrain cue before you boost.
- Choose a line that leaves a safe exit after the obstacle.
- Repeat the same approach before attempting a faster pass.
If dust hides a racing line, reduce the number of simultaneous inputs. If the craft drifts away from the intended line, correct the approach rather than assuming a wheel-traction model from the snowy scenery. In a heat section, do not treat the ramjet gauge as a cosmetic indicator: an overheated ramjet can destroy a speeder. Practise the hazard with afterburner or without a boost until the exit is known.
Add speed in a controlled order
After a clean lap, add the short afterburner to a corner exit or a safe straight where you can see the next marker. It is easier to compare a run when the boost is used in the same place each time. Once you can finish with that approach, test ramjet on a straight you have already driven. Lift before the heat limit, then check whether the extra speed improved the event result or simply reduced your control.
Drafting is another tool to layer in. Join a rival’s wake on a straight, then leave before braking or a hazard that the wake obscures. When a wake or vehicle hides the road, the planned exit is part of the maneuver. A shunt should come after you can hold a clean line; make contact on a straight and complete the maneuver before the apex rather than starting it while you are still learning the corner.
Choose a vehicle for the lesson
Use a landspeeder when the task is to learn a durable, forgiving speeder route. Try a speeder bike after you understand where its speed and Kinetic Burst can help, because a bike is more fragile when the line goes wrong. A skim speeder gives you a different flowing-line approach. For a pod course, choose a podracer and treat it as a separate practice set. These roles are more useful than saying one vehicle is always best.
Do not mistake a vehicle skin or Deluxe hull for a new handling class. The named Kor Sarun vehicles correspond to existing classes in the current guide data. If you change the hull, class, and upgrade at once, keep the result in a new note so that you are not comparing unlike runs.
Make a useful practice record
A compact log is enough: date and game version if shown, event name, vehicle, best result visible in the game, and the one adjustment you made. Add a note for any hitch or control problem. If a result came from a community post, mark that separately from your own screen. This helps you avoid turning a single anecdote into a supposedly universal time.
The log also tells you when to return to the campaign. If you can finish without hitting the hazard and can reproduce the boost or jump, you have a reasonable basis for carrying that lesson into qualification. If not, stay in Arcade for another run. Practice is worthwhile when it reduces uncertainty, not when it becomes an endless attempt to match an unrelated screenshot.
When to leave Arcade
Return to campaign when you can finish the relevant course and understand the objective. Qualification has its own target, and the Galactic League adds Backers, contracts, and tokens. A clean practice lap can prepare you for a jump contract, but it does not complete that contract. Check the condition in the current menu before choosing a Backer, then treat the tour’s token as a resource you should not stake on an unfamiliar rival.
If the failure you are fixing is actually a technical hitch, stop changing your line and use the site’s performance troubleshooting page. If the issue is a camera angle during a takedown, read the takedown-camera guide. Keeping the fault category clear avoids spending a night changing class abilities to fix a stutter.
FAQ: Arcade practice
Does Arcade provide a hidden credit multiplier?
This guide does not claim a hidden multiplier. Check the reward shown by your current event. Use Arcade to repeat and learn a course rather than assuming it is a credits exploit.
Can I use a speeder gold time for a pod event?
No. They are different vehicle grids and handling tasks. Record the target displayed for the exact event you are playing.
Should I practice shunts before the clean lap?
Learn the course first. Contact adds another risk and can send a racer into a barrier or hazard. Add it after the braking point and exit are familiar.
What if my event target differs from a guide?
Use the current game screen for your event. A patch, layout, or vehicle variation may make an old note inapplicable. The course-specific page can help identify the hazard, but the menu owns the target.